了解 AVFoundation:写一个简单的视频输入输出demo
AVFoundation 是苹果公司开发的一套音频和视频框架,用于 macOS、iOS、watchOS 和 tvOS 平台。它提供了一整套用于处理多媒体数据的 API,允许开发者创建、编辑和播放音频和视频内容。通过使用 AVFoundation,开发者可以创建功能丰富的多媒体应用,例如视频播放器、音频录制应用、实时流媒体应用和视频编辑器等。它是苹果生态系统中处理多媒体数据的核心工具之一。
以下是 AVFoundation 的一些关键特性和组件:
- 多媒体播放:用于播放音频和视频文件(本地、远程皆可)。常用的类包括 AVPlayer 和 AVPlayerItem。
- 媒体捕捉:AVCaptureSession、AVCaptureDevice 和 AVCaptureOutput 等类,帮助配置和管理捕捉会话,捕捉来自摄像头和麦克风的音频和视频输入。
- 媒体编辑:通过 AVAsset、AVAssetTrack 和 AVMutableComposition 等类,开发者可以剪辑、合并、插入和调整多媒体文件的时间线。
- 媒体导出:AVAssetExportSession 提供了多种配置选项,支持不同的文件格式和导出质量。
- 实时处理:开发者可以应用滤镜、特效和其他处理逻辑到实时捕捉或播放的音视频流上。
- 同步和时间管理:AVAudioTime 和 AVPlayerItem 提供了精确管理和同步多媒体内容的播放时间和捕捉时间功能。
- 支持多种格式:H.264、HEVC、AAC、MP3、ALAC 和 AIFF。
今天的例子中,capture 主要使用到的类
AVCaptureSession:管理输入和输出的数据流。
AVCaptureDevice:表示视频输入设备,例如摄像头。
AVCaptureDeviceInput:将视频输入设备连接到会话中。
AVCaptureVideoDataOutput:处理从设备获得的视频帧数据。
AVCaptureVideoPreviewLayer:用于显示摄像头捕获的实时视频。
AVCaptureVideoDataOutputSampleBufferDelegate: protocol,Methods for receiving sample buffers from, and monitoring the status of, a video data output.
注意下,objective-C中,interface 继承 protocol 不能加 instance variables。
关于AVCaptureDevice.Formats
这个类是用来记录一些设备属性的。比如isVideoStablizationModeSupported(这个功能适合ios/ipad,以及借用这两种设备摄像头的macos/tvos)。
打印出来看下:
for (AVCaptureDeviceFormat *format in device.formats) {
    NSLog(@"format: %@", format);
}
关于formats和activeformat:
- formats 属性返回一个数组,包含了设备支持的所有捕捉格式的信息。
- activeFormat 属性返回当前设备正在使用的捕捉格式。
@property(nonatomic, readonly) NSArray<AVCaptureDeviceFormat *> *formats API_AVAILABLE(ios(7.0), macCatalyst(14.0), tvos(17.0), visionos(1.0));
Xcode 中创建 Project
- 创建 project,选择类型是:command line tool
- 添加 AVFoundation 框架:
- 选择项目的目标,进入 "Build Phases" 标签页。
- 在 "Link Binary With Libraries" 部分点击 "+"。
- 搜索并添加 AVFoundation.framework。
实践一下:main.m
//
//  main.m
//  MacOSVideoCaptureDemo
//

#import <Foundation/Foundation.h>
#import <AVFoundation/AVFoundation.h>

static int total_frames_cnt = 0;

// 声明一个类,符合 AVCaptureVideoDataOutputSampleBufferDelegate 协议
@interface VideoProcessor : NSObject <AVCaptureVideoDataOutputSampleBufferDelegate>
@end

@implementation VideoProcessor

// 实现代理方法,处理每一帧视频数据
- (void)captureOutput:(AVCaptureOutput *)output
  didOutputSampleBuffer:(CMSampleBufferRef)sampleBuffer
         fromConnection:(AVCaptureConnection *)connection {
    // 这里可以对 sampleBuffer 进行处理
    // NSLog(@"Captured a frame. %d", total_frames_cnt++);
}

@end

int main(int argc, const char * argv[]) {
    @autoreleasepool {
        // 创建 AVCaptureSession 实例
        AVCaptureSession *session = [[AVCaptureSession alloc] init];

        // 获取默认的摄像头设备
        AVCaptureDevice *device = [AVCaptureDevice defaultDeviceWithMediaType:AVMediaTypeVideo];

        if (device) {
            NSError *error = nil;
            // 创建并添加视频输入
            AVCaptureDeviceInput *input = [AVCaptureDeviceInput deviceInputWithDevice:device error:&error];
            if ([session canAddInput:input]) {
                [session addInput:input];
            } else {
                NSLog(@"Failed to add input: %@", error);
                return 1;
            }

            // 创建并添加视频输出
            AVCaptureVideoDataOutput *output = [[AVCaptureVideoDataOutput alloc] init];
            VideoProcessor *processor = [[VideoProcessor alloc] init];
            [output setSampleBufferDelegate:processor queue:dispatch_get_main_queue()];

            if ([session canAddOutput:output]) {
                [session addOutput:output];
            } else {
                NSLog(@"Failed to add output.");
                return 1;
            }
            NSLog(@"formats: %@", device.formats);

            for (AVCaptureDeviceFormat *format in device.formats) {
                BOOL isHighPhotoQualitySupported = [format isHighPhotoQualitySupported];
                NSLog(@"format: %@, high photo quality: %@", format, isHighPhotoQualitySupported);
            }
            // 配置 session
            session.sessionPreset = AVCaptureSessionPresetHigh;

            // 启动 session
            [session startRunning];

            // 运行一个无限循环,保持程序运行
            [[NSRunLoop currentRunLoop] run];
        } else {
            NSLog(@"No camera device found.");
            return 1;
        }
    }
    return 0;
}
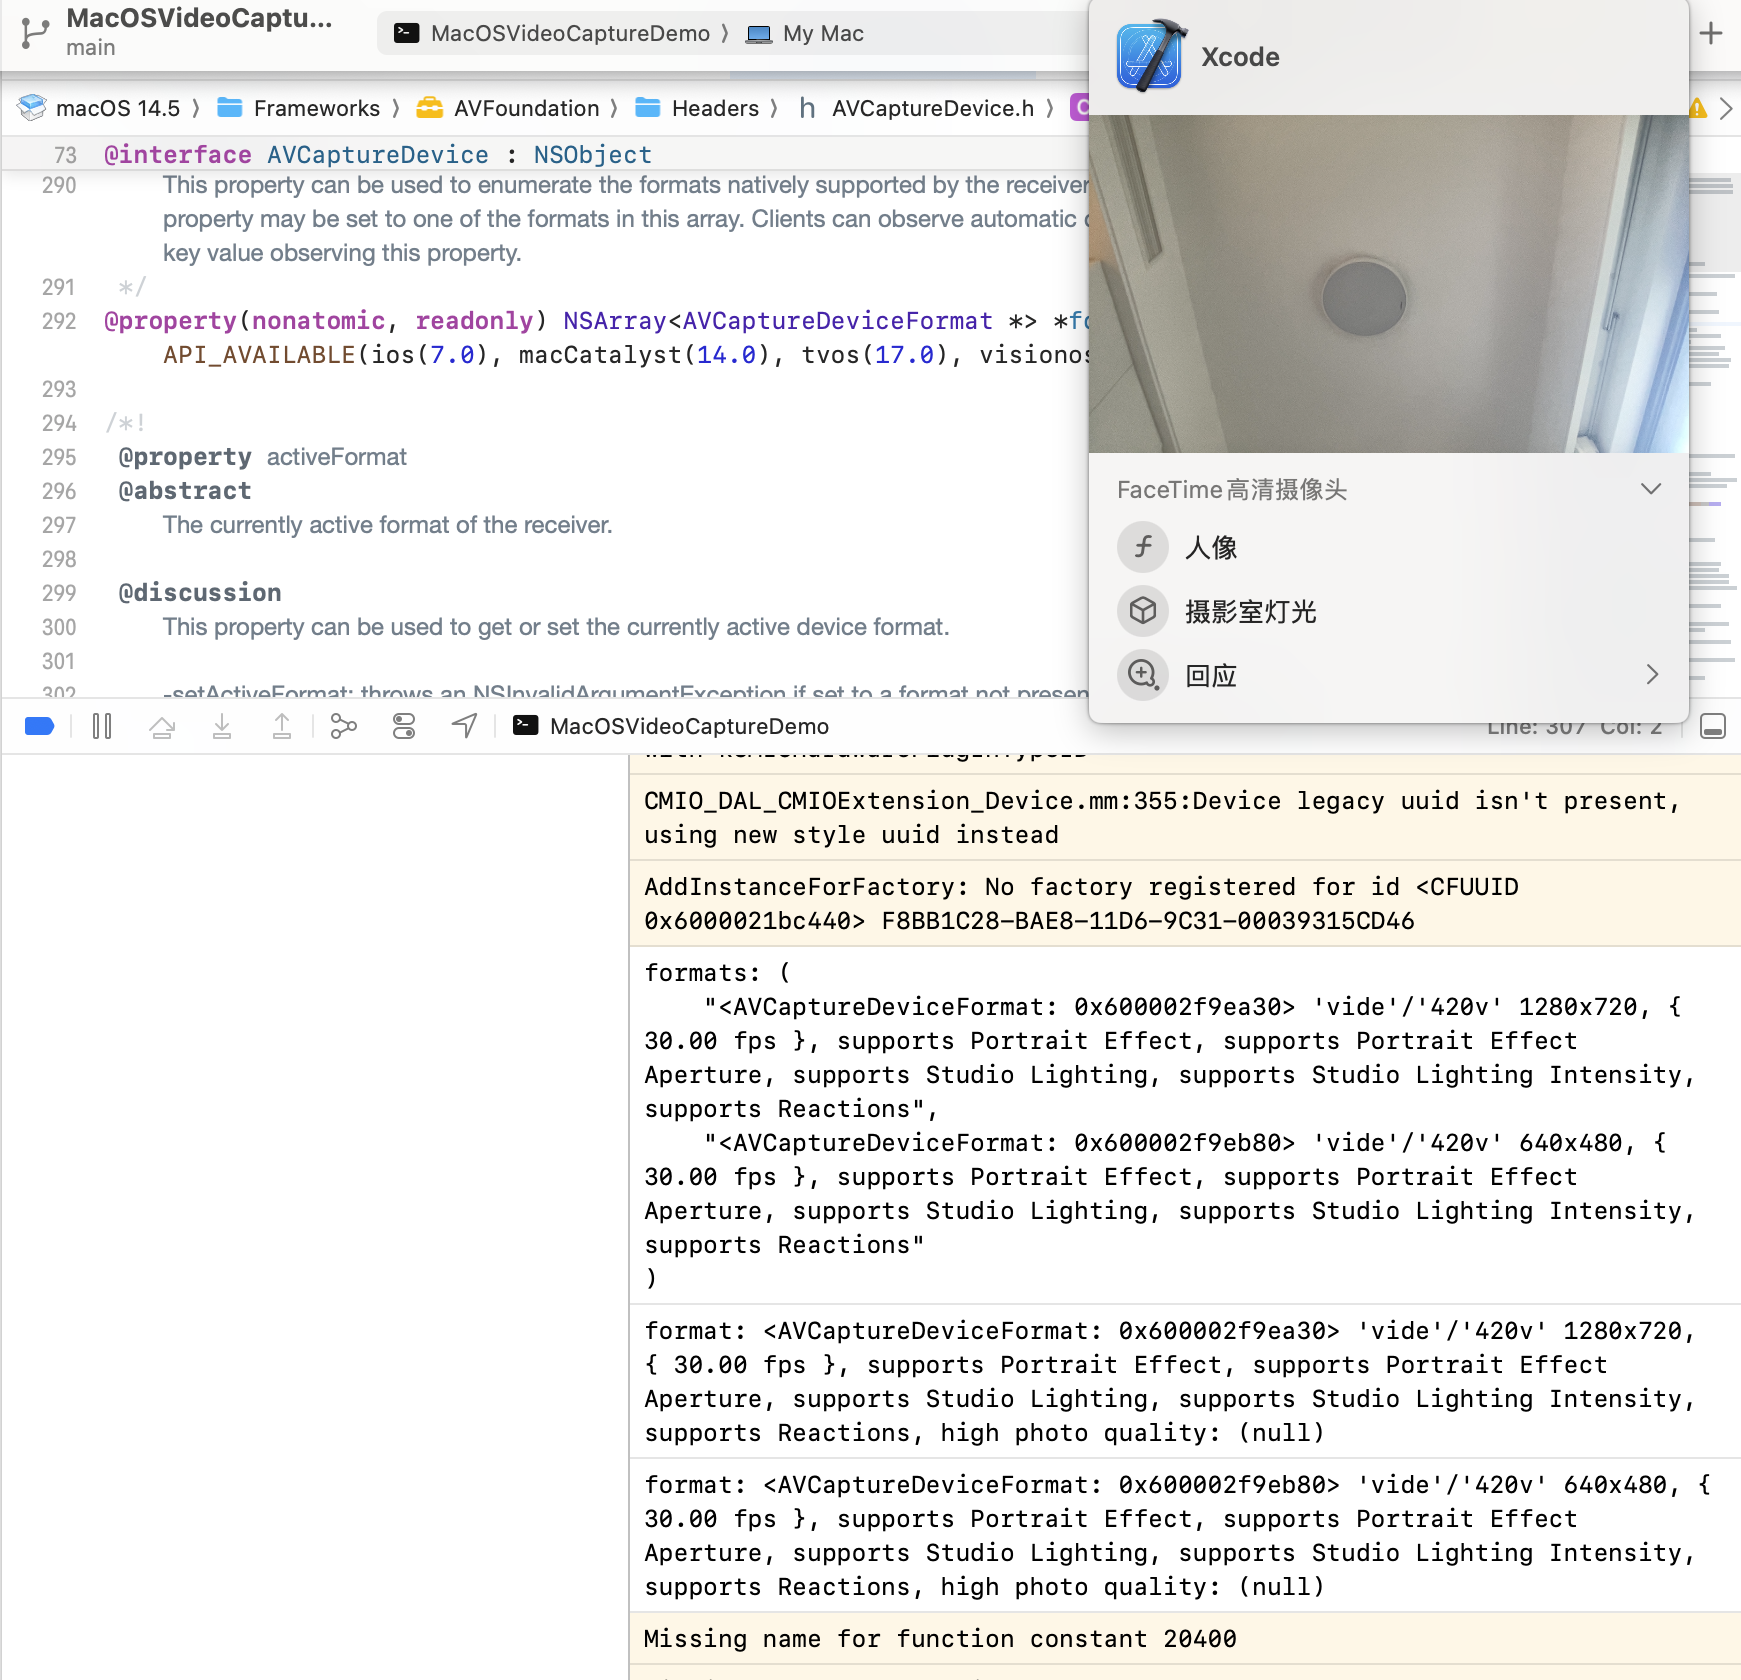
效果: